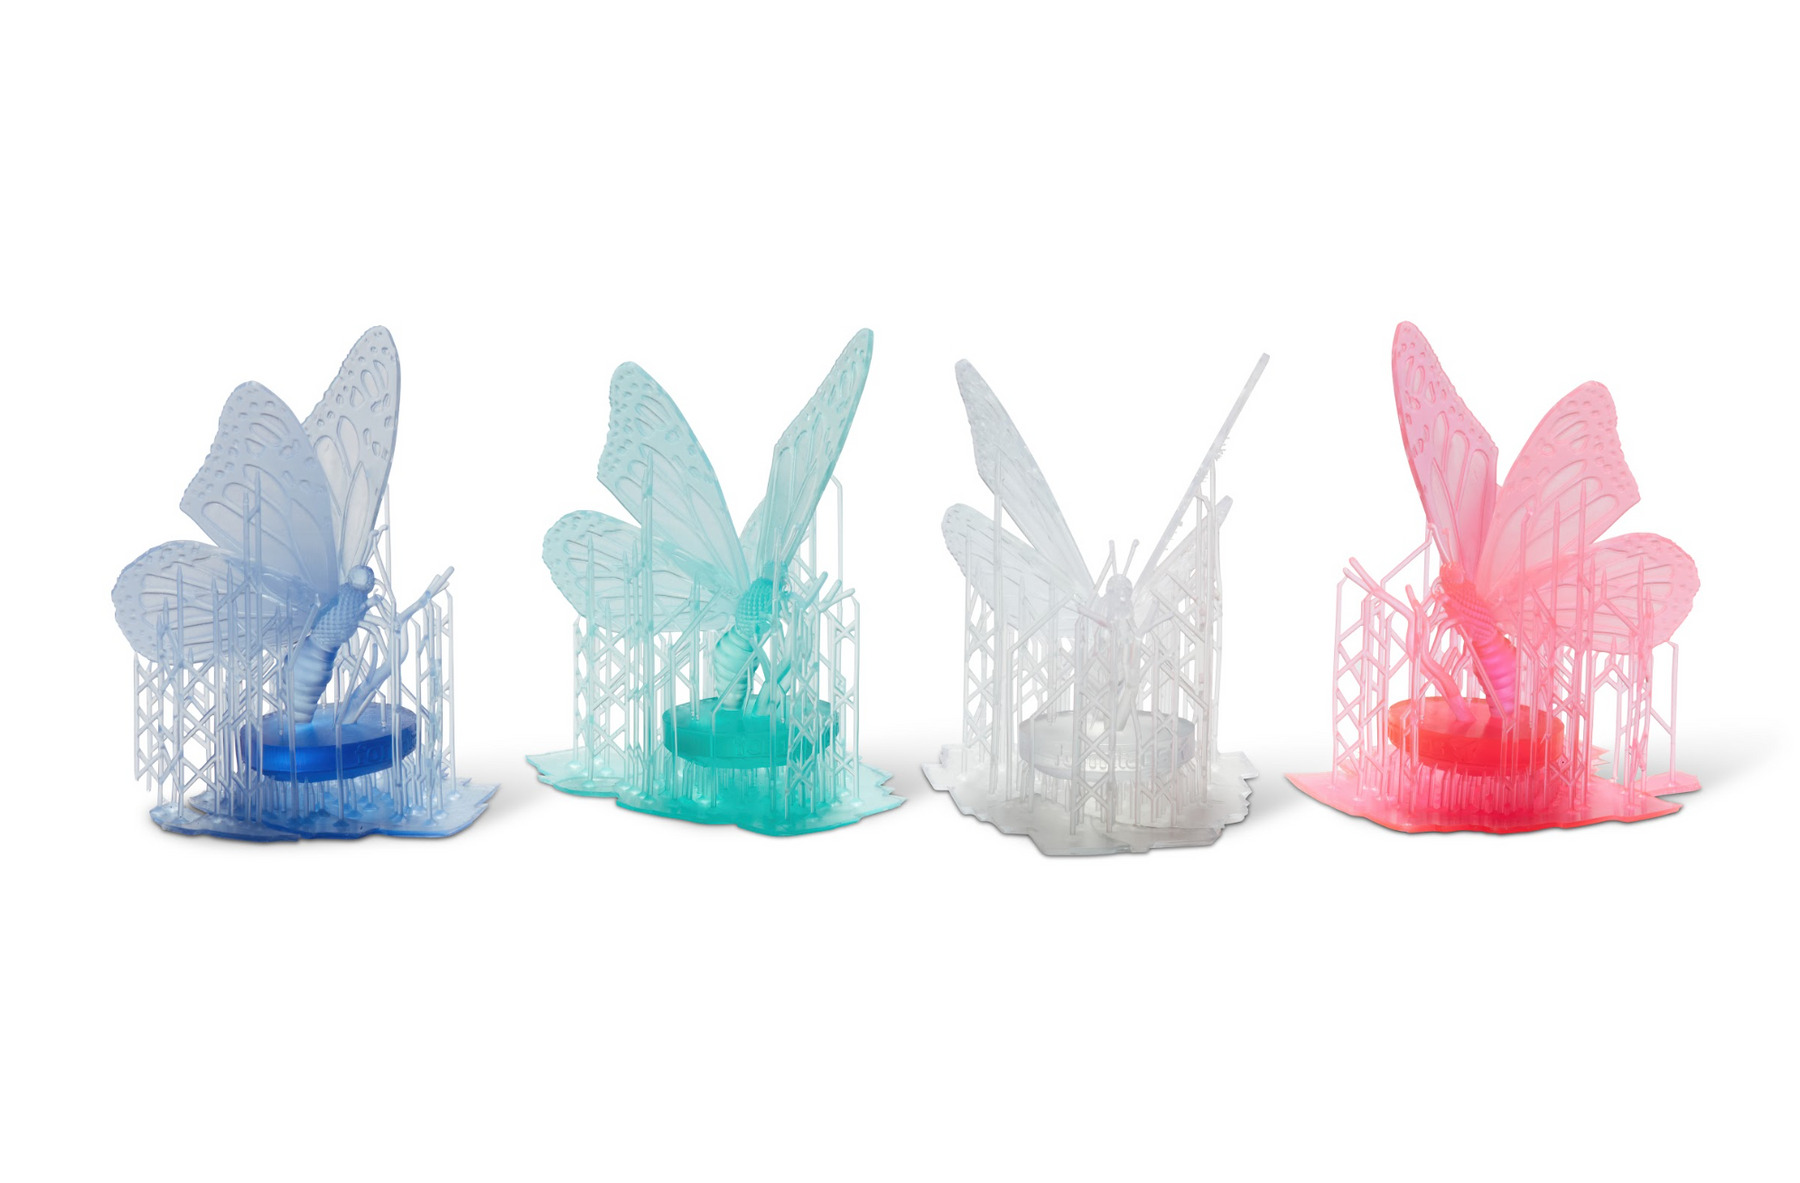
How to Dye Creator Super Clear Resin
The following guide provides guidance on dyeing Formlabs Super Clear Resin. Dyeing resin can enhance the aesthetic appeal of your 3D printed parts, allowing for customized color finishes. This guide covers general tips and tricks, as well as specific dyeing processes to achieve a few colors.

Tools
- Creator Super Clear Resin
- Gloves
- Resin dye
- Silicone scraper, or similar tool for mixing
General Tips & Tricks
- Use a digital scale to measure the resin accurately before adding dye
- Ensure the dye is well mixed into the resin to avoid uneven coloring
- Adding dye can affect the curing process differently from printer to printer. Adjust exposure times as needed to achieve the best results
- Before committing to a large print, test the dyeing process on a small batch to ensure the desired color and print quality. The prints can look very different from the color of the resin in the tank due to lighting and background differences.
- Document the amount of dye and exposure time adjustments for future reference and consistency.
Dyeing Process
- Place the resin vat (without resin) on a scale and press the “tare” button to reset the scale to zero.
- Pour the desired amount of Creator Super Clear into the vat. If you do not know how much to add, start with about 300g.
- Add drops of dye based on the color guide below.
- Stir the resin and dye mixture thoroughly to ensure even distribution of color.
- Print!


